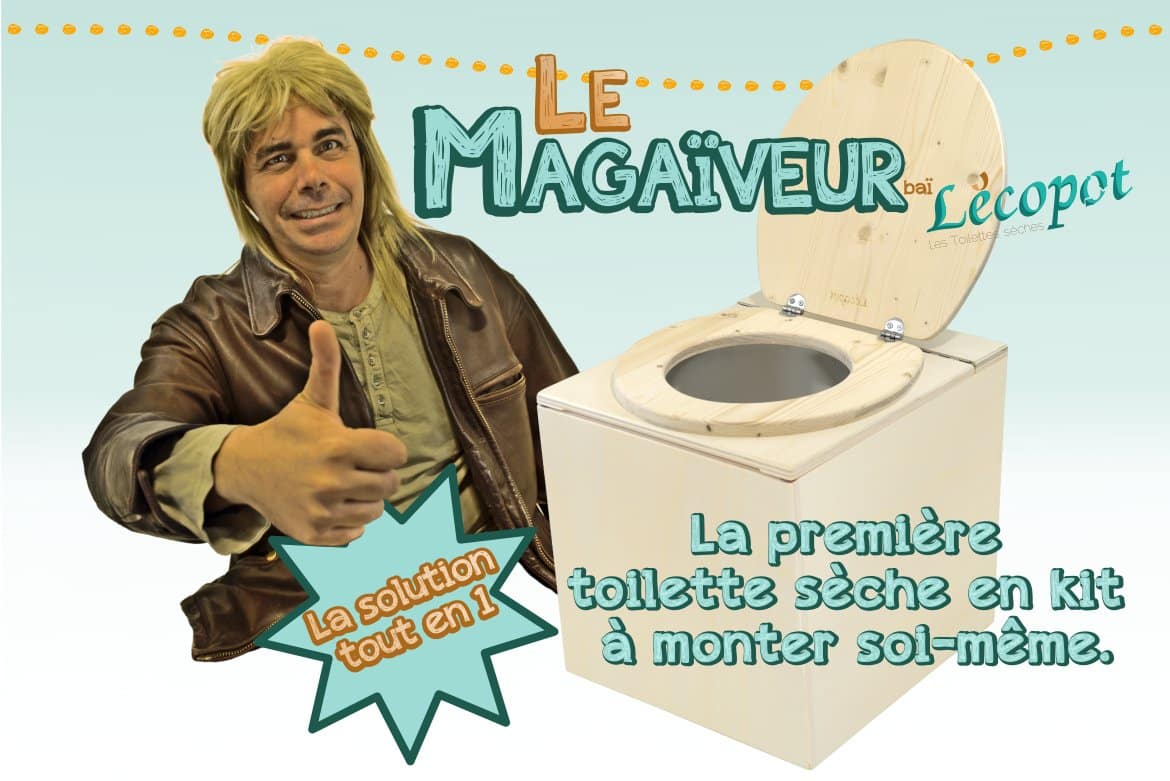
The DIY dry toilet has arrived at Lécopot!
The
Magaïveur
is a do-it-yourself dry toilet kit that requires no design work or wood cutting, just a few tools and a little elbow grease!

The Magaïveur, a kit with a lot going for it!
This toilet kit is ideal for DIY enthusiasts, tinkerers and jack-of-all-trades… For those who like to make things with their hands but don’t have the space, tools or even the desire to create a dry toilet from scratch.
There’s no gadgetry or system D here, just a set of parts ready to be assembled into a complete, simple and durable dry toilet!

Excerpt from the Youtube tutorial video presenting the assembly of the Magaïveur Kit
This set includes :
– 7 Poplar wood panels of different sizes (depending on their location)
– 1 x 21-litre food-grade plastic bucket with airtight lid
– 1 stainless steel bib
– 1 spruce bezel/sash unit
– 5 cleats
– 1 stainless steel piano hinge
– 12 Torx wood screws – 3 x 20 mm (stainless steel)
– 6 “Torx” bit wood screws – 4 x 25 mm (stainless steel)
– 30 “Torx” wood screws – 4 x 40 mm (stainless steel)
– 4 oval assembly strips
– 4 nailing glides
– 4 felt glides
What a crowd!
Before we get started, a few tips on how to become a handyman …

All the tools you need to assemble your Magaïveur
To mount the
Magaïveur
you will need a few tools that are not supplied with the kit:
– 1 sander, preferably with 120-180 grit sandpaper
– 1 light hammer
– 1 metre
– 1 screwdriver with 10 and 20 “Torx” bits
– wood glue (preferably white vinyl)
– 2 clamps (45 cm apart)
– 1 wooden wedge (you can also use scrap wood)
You should be able to find all the tools you need at your local DIY store or with a DIY buddy 😉
A few tips before you start:
– Locate each part
– Use a damp sponge to remove excess glue
– Never use the hammer directly on the wood, but with a wedge (or chute).
– Before starting, sand the flat parts of the wood, but not the edges (it’s better to sand them once the toilet has been assembled).
– It’s essential to protect your toilet once it’s assembled. Wood is a living material, and if it absorbs urine, odors and stains may appear. We offer you our ecological varnish or you can choose the protection of your choice
Watch out! The pieces of wood are unfinished. Avoid “sliding” them through your fingers, as you may get splinters.
Magaïveur on our website
>discover the Magaïveur<
You’re all set! You can download the dry toilet plan here:
assembly_instructions_lecopot_magaiveur
All you have to do is follow the instructions in the video and … It’s up to you!
It’s up to you!
Don’t hesitate to send us photos of your assembled Magaïveur!

Shooting the Magaïveur assembly tutorial. Relieved to be done.
