How do I maintain a dry toilet?
Contrary to popular belief, dry toilets are easy to use and clean. There’s a bit of maintenance when you take out the bucket. But this small gesture, comparable to taking out the family garbage, is richly rewarded.
Dry toilets: simple from every point of view
The key to dry toilets? SIMPLE
They’re easy to install (no electricity or water connections required), operate in the most natural way and are just as easy to use.
Let’s start from the beginning.
Lecopot toilets are dry toilets with bio-controlled litter. In other words, they work with a litter (shavings or sawdust) and sanitation is achieved by composting
composting of dejecta
.
Whether you have a dry toilet assembled or have built it yourself, the principle remains the same.
Before anything else, it is imperative to varnish your toilet. The wood needs to be protected from any drops of urine (but also from moisture) so that it doesn’t absorb them. This can lead to odors and stains, and affect the durability of your toilet.
What’s more, cleaning raw wood with a damp sponge is complicated. Because wood is alive and absorbs water, causing swelling and wood discoloration…
We offer you an
ecological varnish
suitable for skin contact. However, you can choose another type of protection for your toilet (e.g. hard oil, other wood varnish, etc.).
There are several steps to using the dry toilet:

On the road to dry toilets!
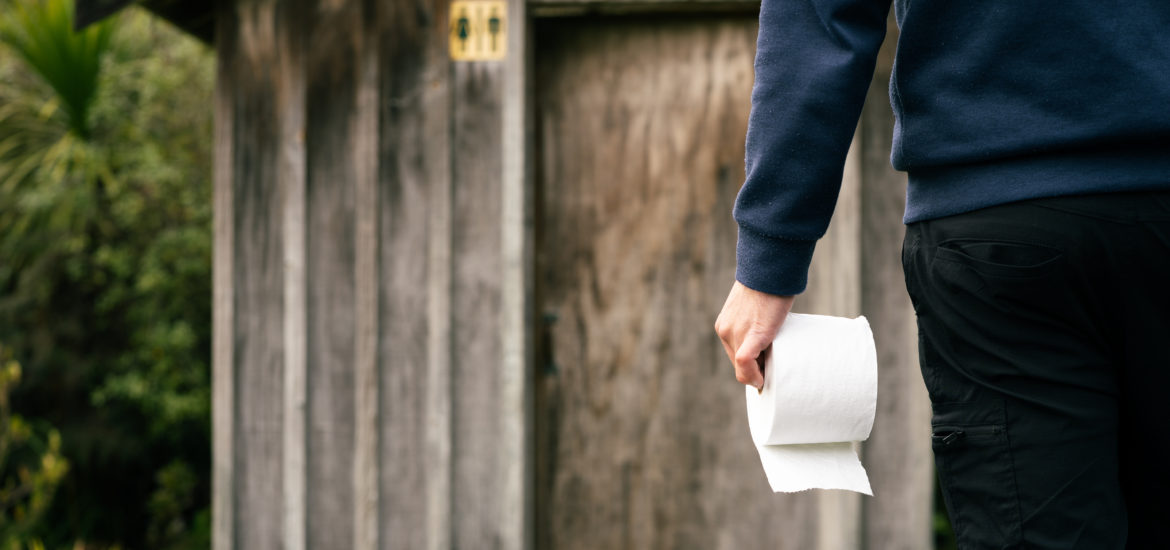
1 – Place the bucket in your toilet, lay a layer of wood shavings in the bottom of the bucket, then fold down the seat.
2 – To relieve yourself, you can use
ecological toilet paper
(preferably uncolored and unscented). Cover your needs with litter.
A few doses are all that’s needed, the important thing is that everything is covered. This allows better absorption and will cover odors.
3 – When the bucket container is almost level with the bib, lift out your bucket by lifting the bezel. Empty it into the composter. Clean it as well as the flap seat and flap lip. Then replace the bucket with litter at the bottom.
Child’s play!
Cleaning my dry toilet
Cleaning a dry toilet is just as easy as cleaning a wet toilet.
Once the bucket has been emptied into the composter, rinse it with a garden hose.
This will remove the remains of urine and soiled shavings. The water used to rinse the bucket should be poured into the composter. Make sure, however, that your compost is not too damp.
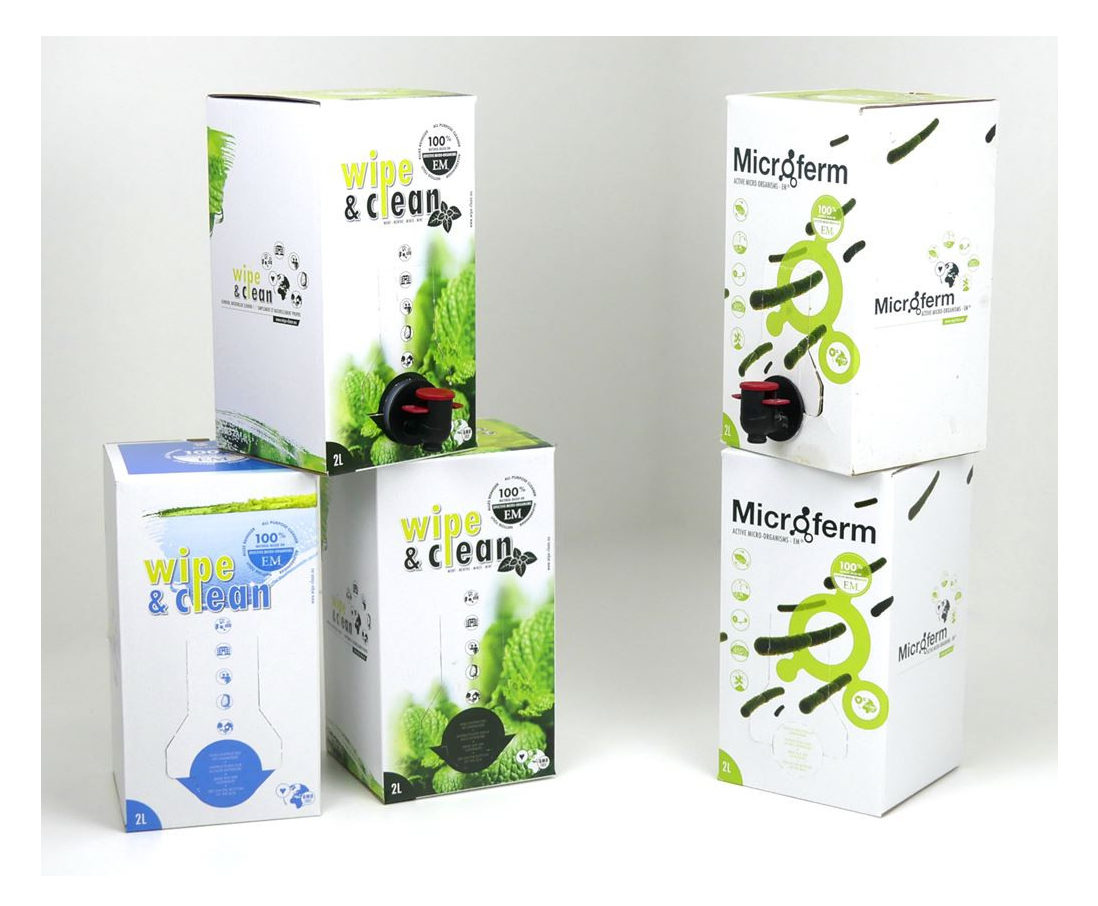
Spray the bucket with cleaner. We recommend
Wipe&Clean
which is a micro-organism-based product. You can use a toilet brush if you wish.
To find out more about how Efficient Microorganisms (EM) work, go to
>dedicated blog article<
Once the bucket is clean, wipe down the mudflap and bezel.
Then replace the bucket in the toilet and add about 5 cm of shavings to the bottom of the toilet.
Here you go again!
Gentle cleaning
As for the cleaner, you can opt for a different one, but make sure it’s non-aggressive. It must not attack the toilet’s varnish, nor block the action of the compost.
Large-scale household products for toilets and bathrooms and bleach-based products are to be avoided (they will damage the varnish, the toilet and destroy the compost fauna).
White vinegar can be used, but be careful not to use too much, as it has an anti-bacterial action and the magic of compost works thanks to the bacteria…
You can opt for black soap, Marseille soap, etc.
Now you’re ready to start experimenting with dry toilets!
If you have any questions about use, cleaning or dry toilets in general, please don’t hesitate to
contact us at
!


