Composting dry toilet waste
In addition to saving enormous amounts of water, the aim of using dry toilets is to convert human dejecta into humus.
To get from the toilet to the ground, our dejecta have to go through the composting process.
To demystify this practice, there’s nothing like a short tutorial accompanied by a few photos. Here’s how to compost a dry toilet:
We made this short report in autumn 2013, during the annual rotation of our compost heaps. This operation took me a few hours one afternoon.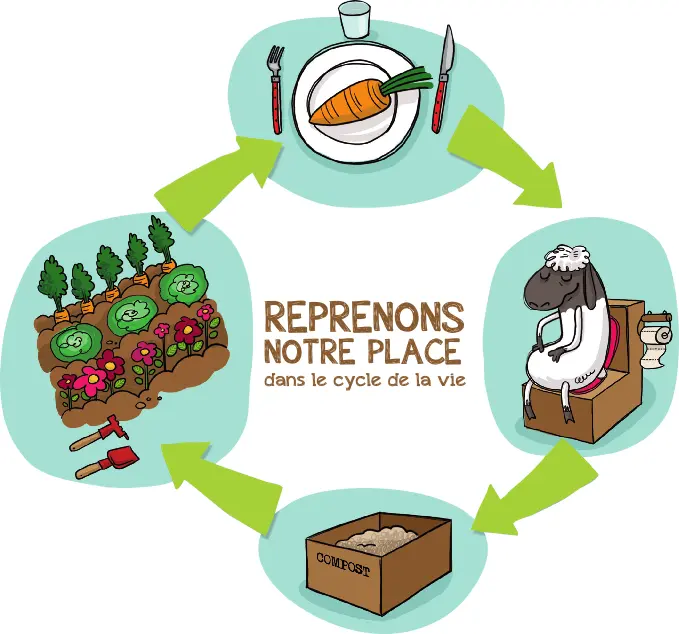
The cycle and rotations
As a reminder, when composting dry toilet waste naturally – i.e. without an insulated, heated and ventilated tank – it’s advisable to wait two years before reintroducing the resulting humus into the garden.
This is to overcome the most stubborn pathogenic organisms that may be contained in our faeces.
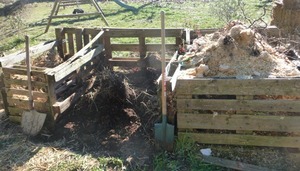
To meet this requirement, you’ll need three composting areas, which can be placed side by side, as shown in the photo.
Three steps to composting
The space required is approximately 3 meters by 1 meter, i.e. 3 m² for a family of four. There are four of us at home, two adults and two children, and we compost in the same place our dry toilet excreta, kitchen peelings and maintenance residues from a 2000m² garden, i.e. grass clippings, foliage etc… These three categories of “waste”, or rather potential treasure, once mixed together, fill a volume of around 1000 liters per year.
The first pile
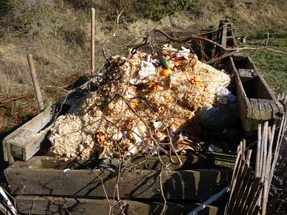
Our composters are organized as follows: a first 1000-liter composter receives our compostable materials for one year.
At the end of this first year, although the first bucket dumped has already spent a year composting, the last has just been emptied. So it, too, has to undergo two years of composting.
To do this, we’re going to use two other composting areas, which will be rotated to give the decomposing heaps two more years of rest (apparently restful, because life is intense inside, with the compost fauna busy transforming our dejecta into brown gold).
Only the newly emptied space will receive new materials.
First-year compost bin
The second pile
A second 1,000-litre composter will be set up to store the material left in the first filling pile. Now that our first composter has been emptied, it will be able to accommodate our residues for another year.
At the end of this first year of rest, our compost is already well decomposed. But we can see that the chips aren’t quite there yet.
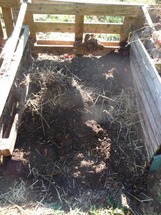
Second storage bin
If you use a more easily decomposable litter (shredded straw, dry shredded leaves, etc.), you’ll probably have no trace of it left at this stage.
The last heap
Our heap has been reduced by at least half to a maximum volume of 500 liters. We’ll empty it into a third 500-litre composter, where the compost will spend its second and final year of rest.
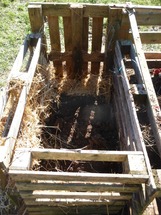
Last tray
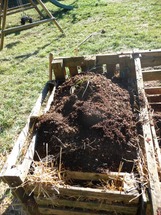
Last heap
With the 1000-liter intermediate composter emptied, we can now, as in the previous year, refill it with the residues stored in the filling composter. Leaving the latter empty to be refilled. So we have an annual rotation of three spaces.
Of the 500 liters we put in the last resting heap, only about 200 liters will remain one year after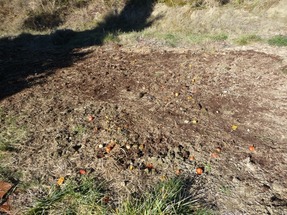 for use in the garden.
In this way, we have valorized “waste” (potential treasures) globally instead of generating additional pollution.
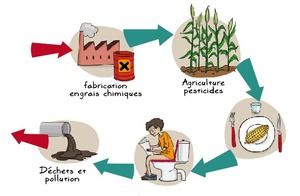
Materials lost with water
A few practical tips
It’s important to understand that compost is full of life. As with us, air and water are essential to compost life. You should therefore check from time to time that the compost remains well aerated in all its strata and that it is sufficiently moist, but not excessively so.
If odors appear, it’s to alert you to a malfunction on one of these two points.
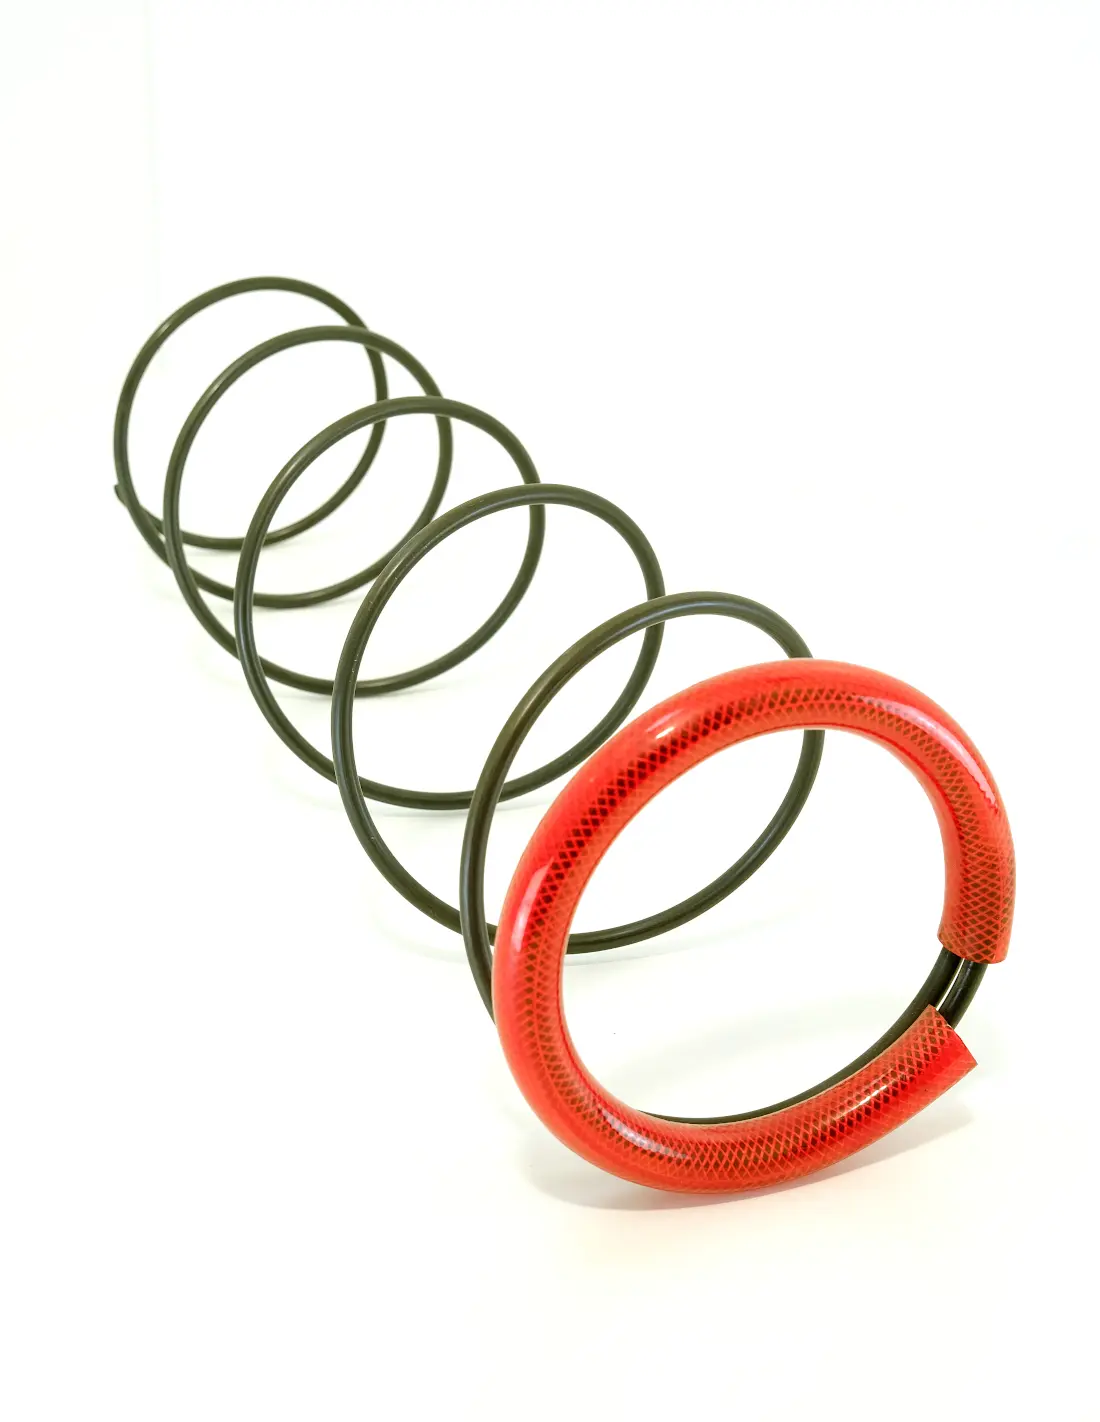
Today there are simple tools to aerate your compost effortlessly, such as the
Brass’compost
.
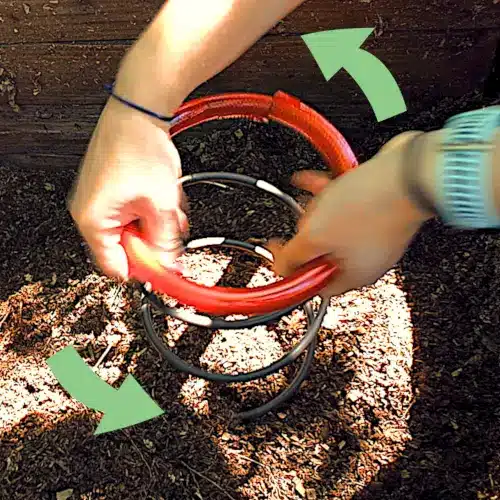
Screw the compost stirrer easily into your composter.
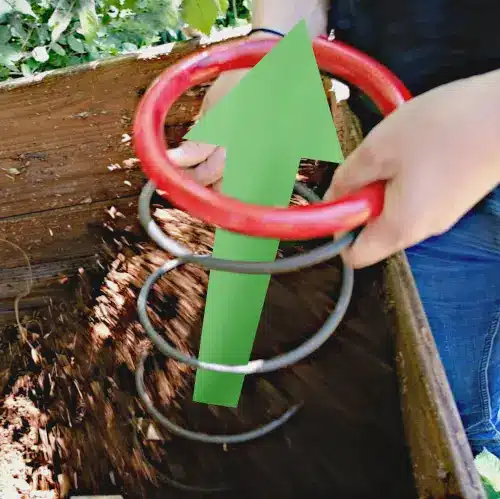
Pull on the compactor to bring the material from the bottom to the top.
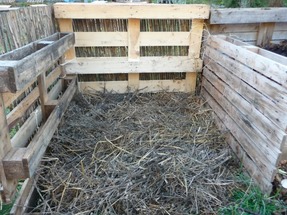
Strawbed area before filling
Each time a heap is laid bare, we recommend lining it with 15-20 cm of straw on the ground before filling it. This bottom litter will help absorb excess liquids.
You can also cover your resting piles with a good layer of straw. This will keep your compost warm and prevent it from drying out too quickly.
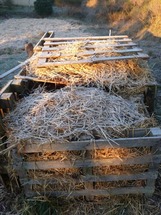
Mulched heap
We also remind you that your compost heap must be protected from the rain by a lid. It should also be placed in the shade to avoid drying out in summer.
Your composter must provide good aeration for its contents. If you opt for a commercial plastic composter, these often lack ventilation. So don’t hesitate to make extra holes, even for some wooden models.
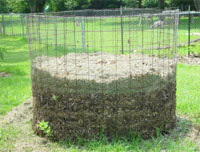
Screened composter
Composters
You can build your own compost bins using untreated recycled pallets or chicken wire, forming a cylinder that’s closed with a concrete reinforcing bar or other natural stem (reed, hazelnut).
Lécopot also offers its own
range of composters
specially designed and adapted for dry toilets.
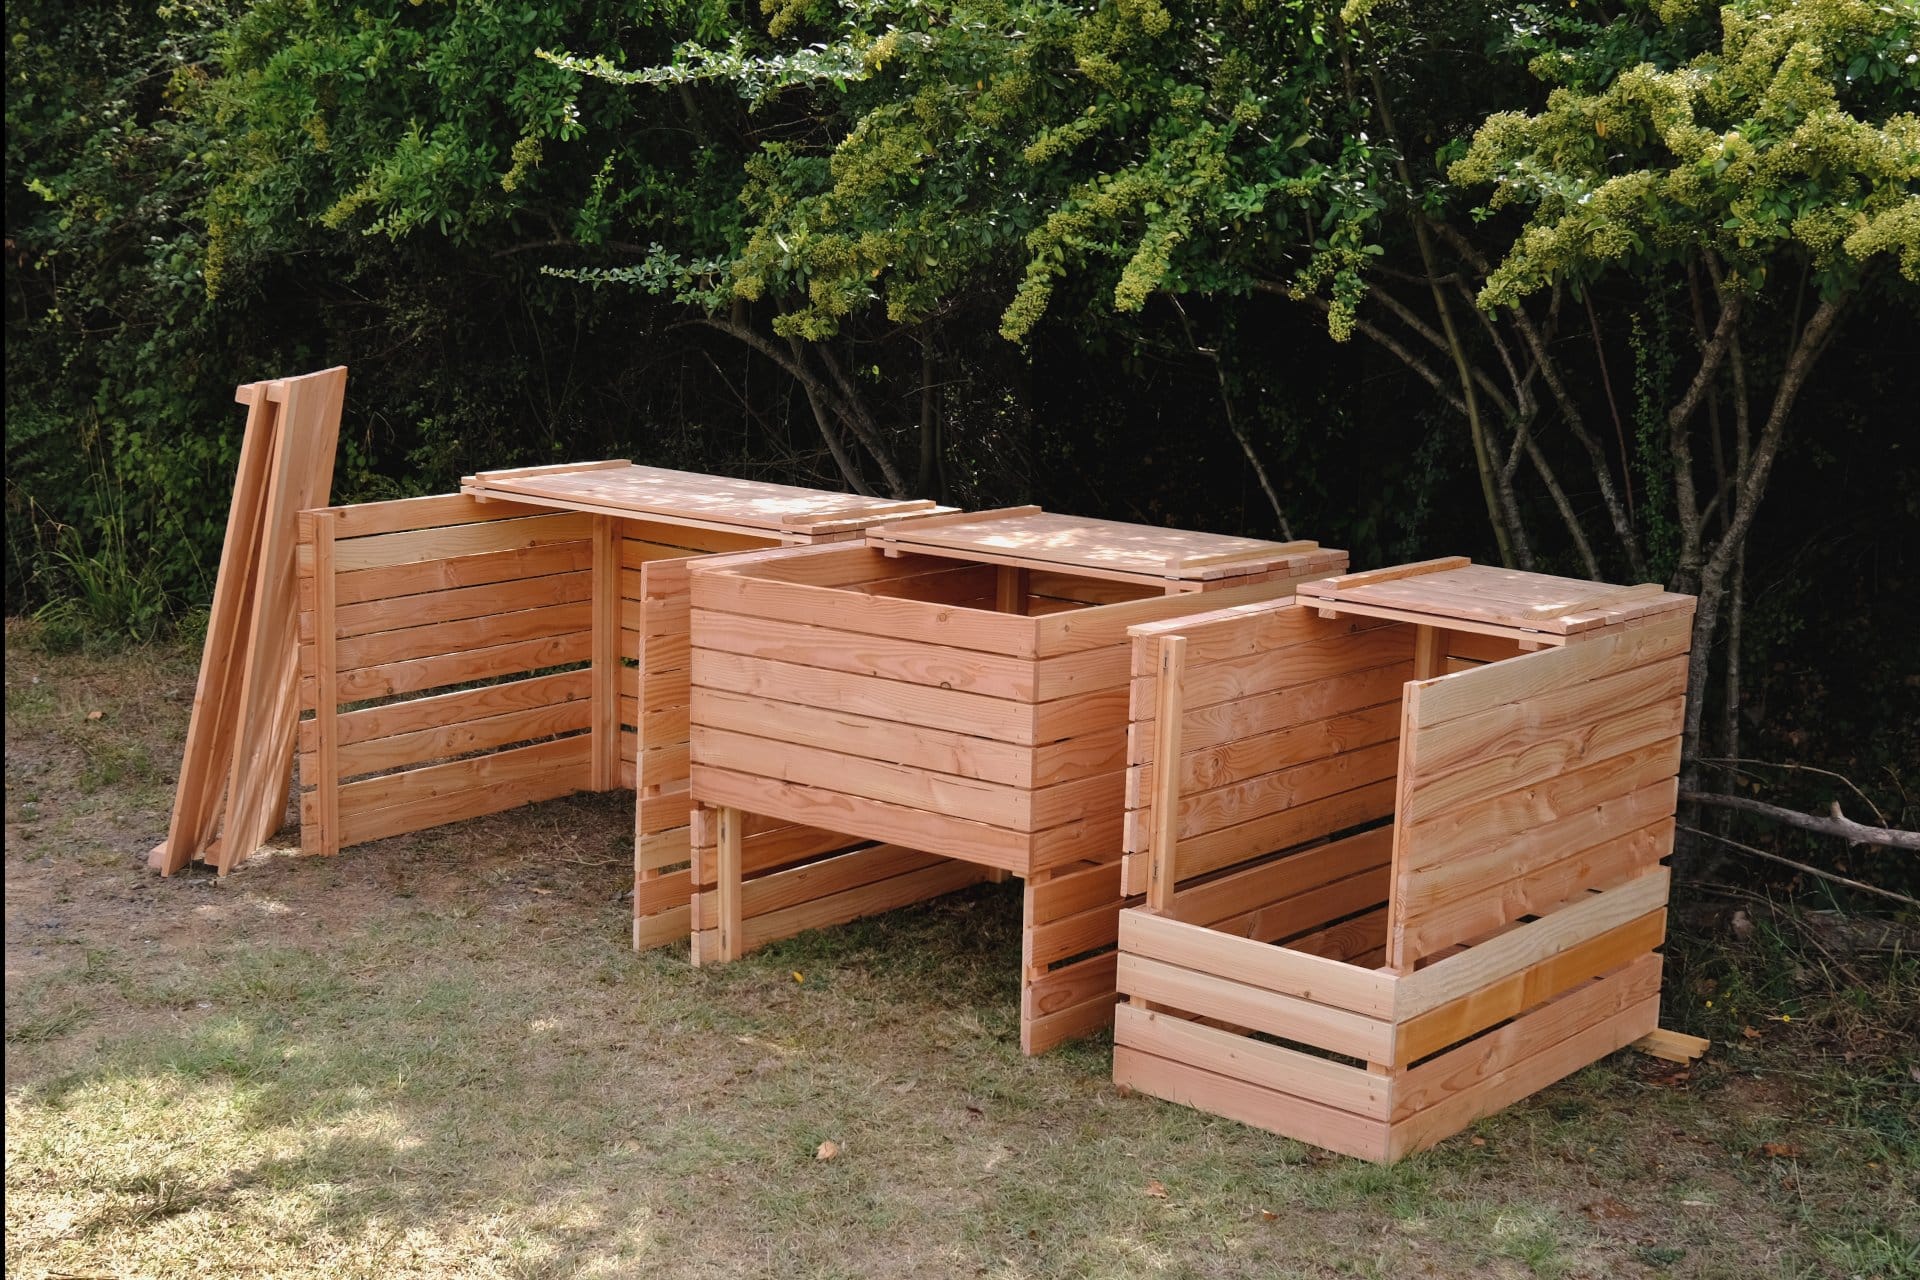
Lécopot’s practical wooden composters can be opened to suit your needs.
Good bedding in your dry toilet is also important for composting.
It must not suffocate the compost.
There are different types of natural litter for composting dry toilets
.
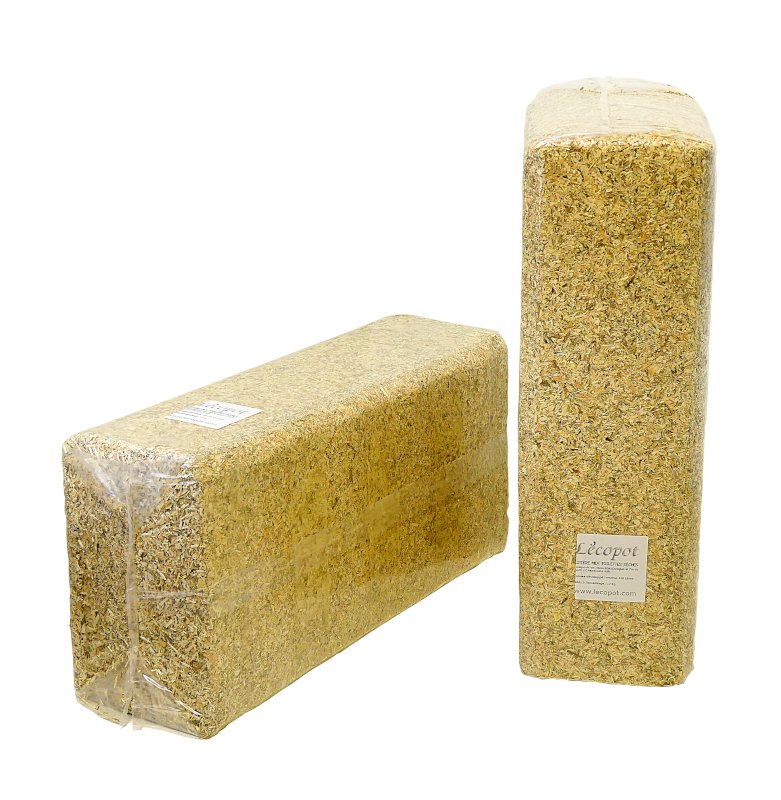
Special dry toilet litter from Lécopot
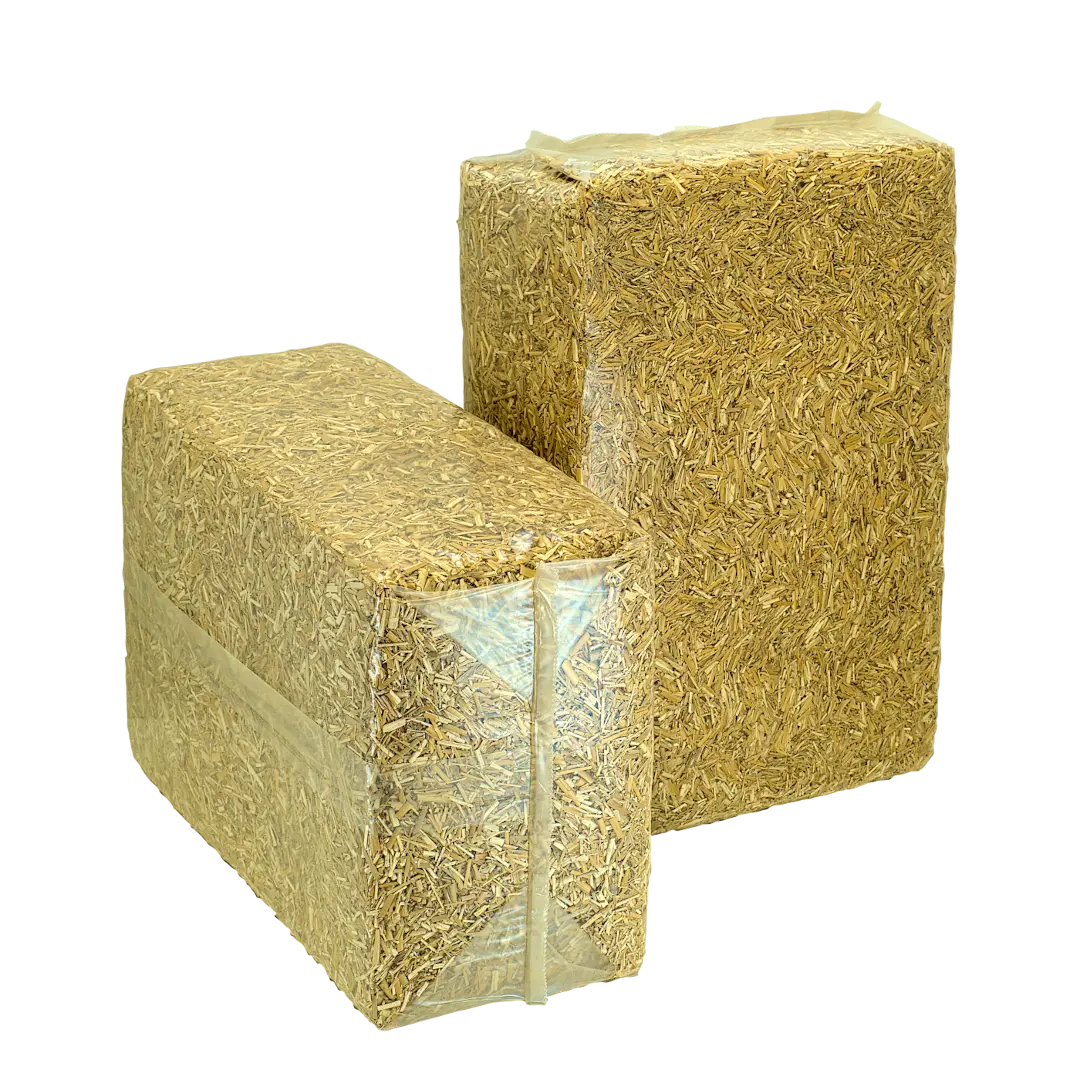
Miscanthus for dry toilets.
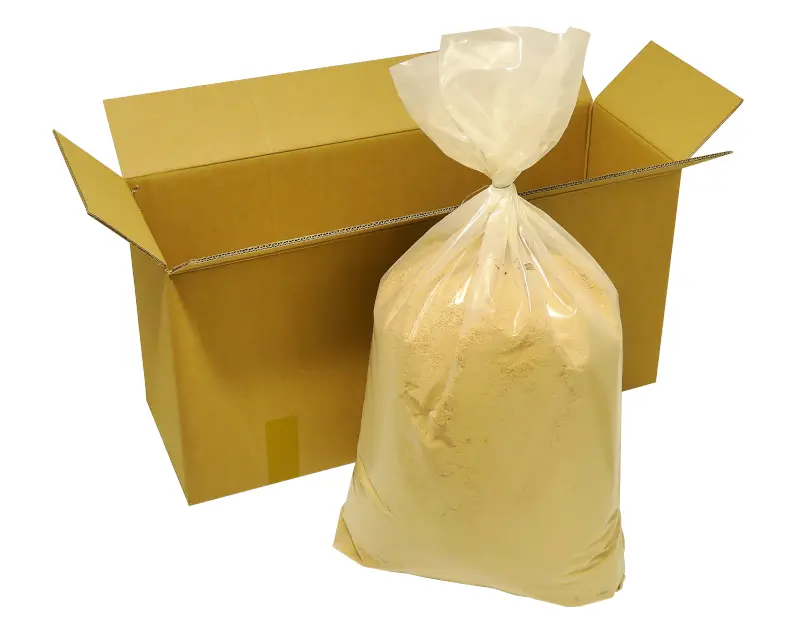
Sawdust to complement your litter.
We hope you’ve found these explanations useful and that, if you haven’t already done so, they’ll help you make the switch to dry toilets. We’re counting on you to sow the earth, and stop polluting our waters.
Since 2024, Lécopot has been offering composters and composter blades in kit form under the Compost Nature brand. You can visit his dedicated website here compostnature.com/products/composteurs/
